
Laundry Room
Makeover and Organized - (How to get creative, organized, and kept the cost low)
-
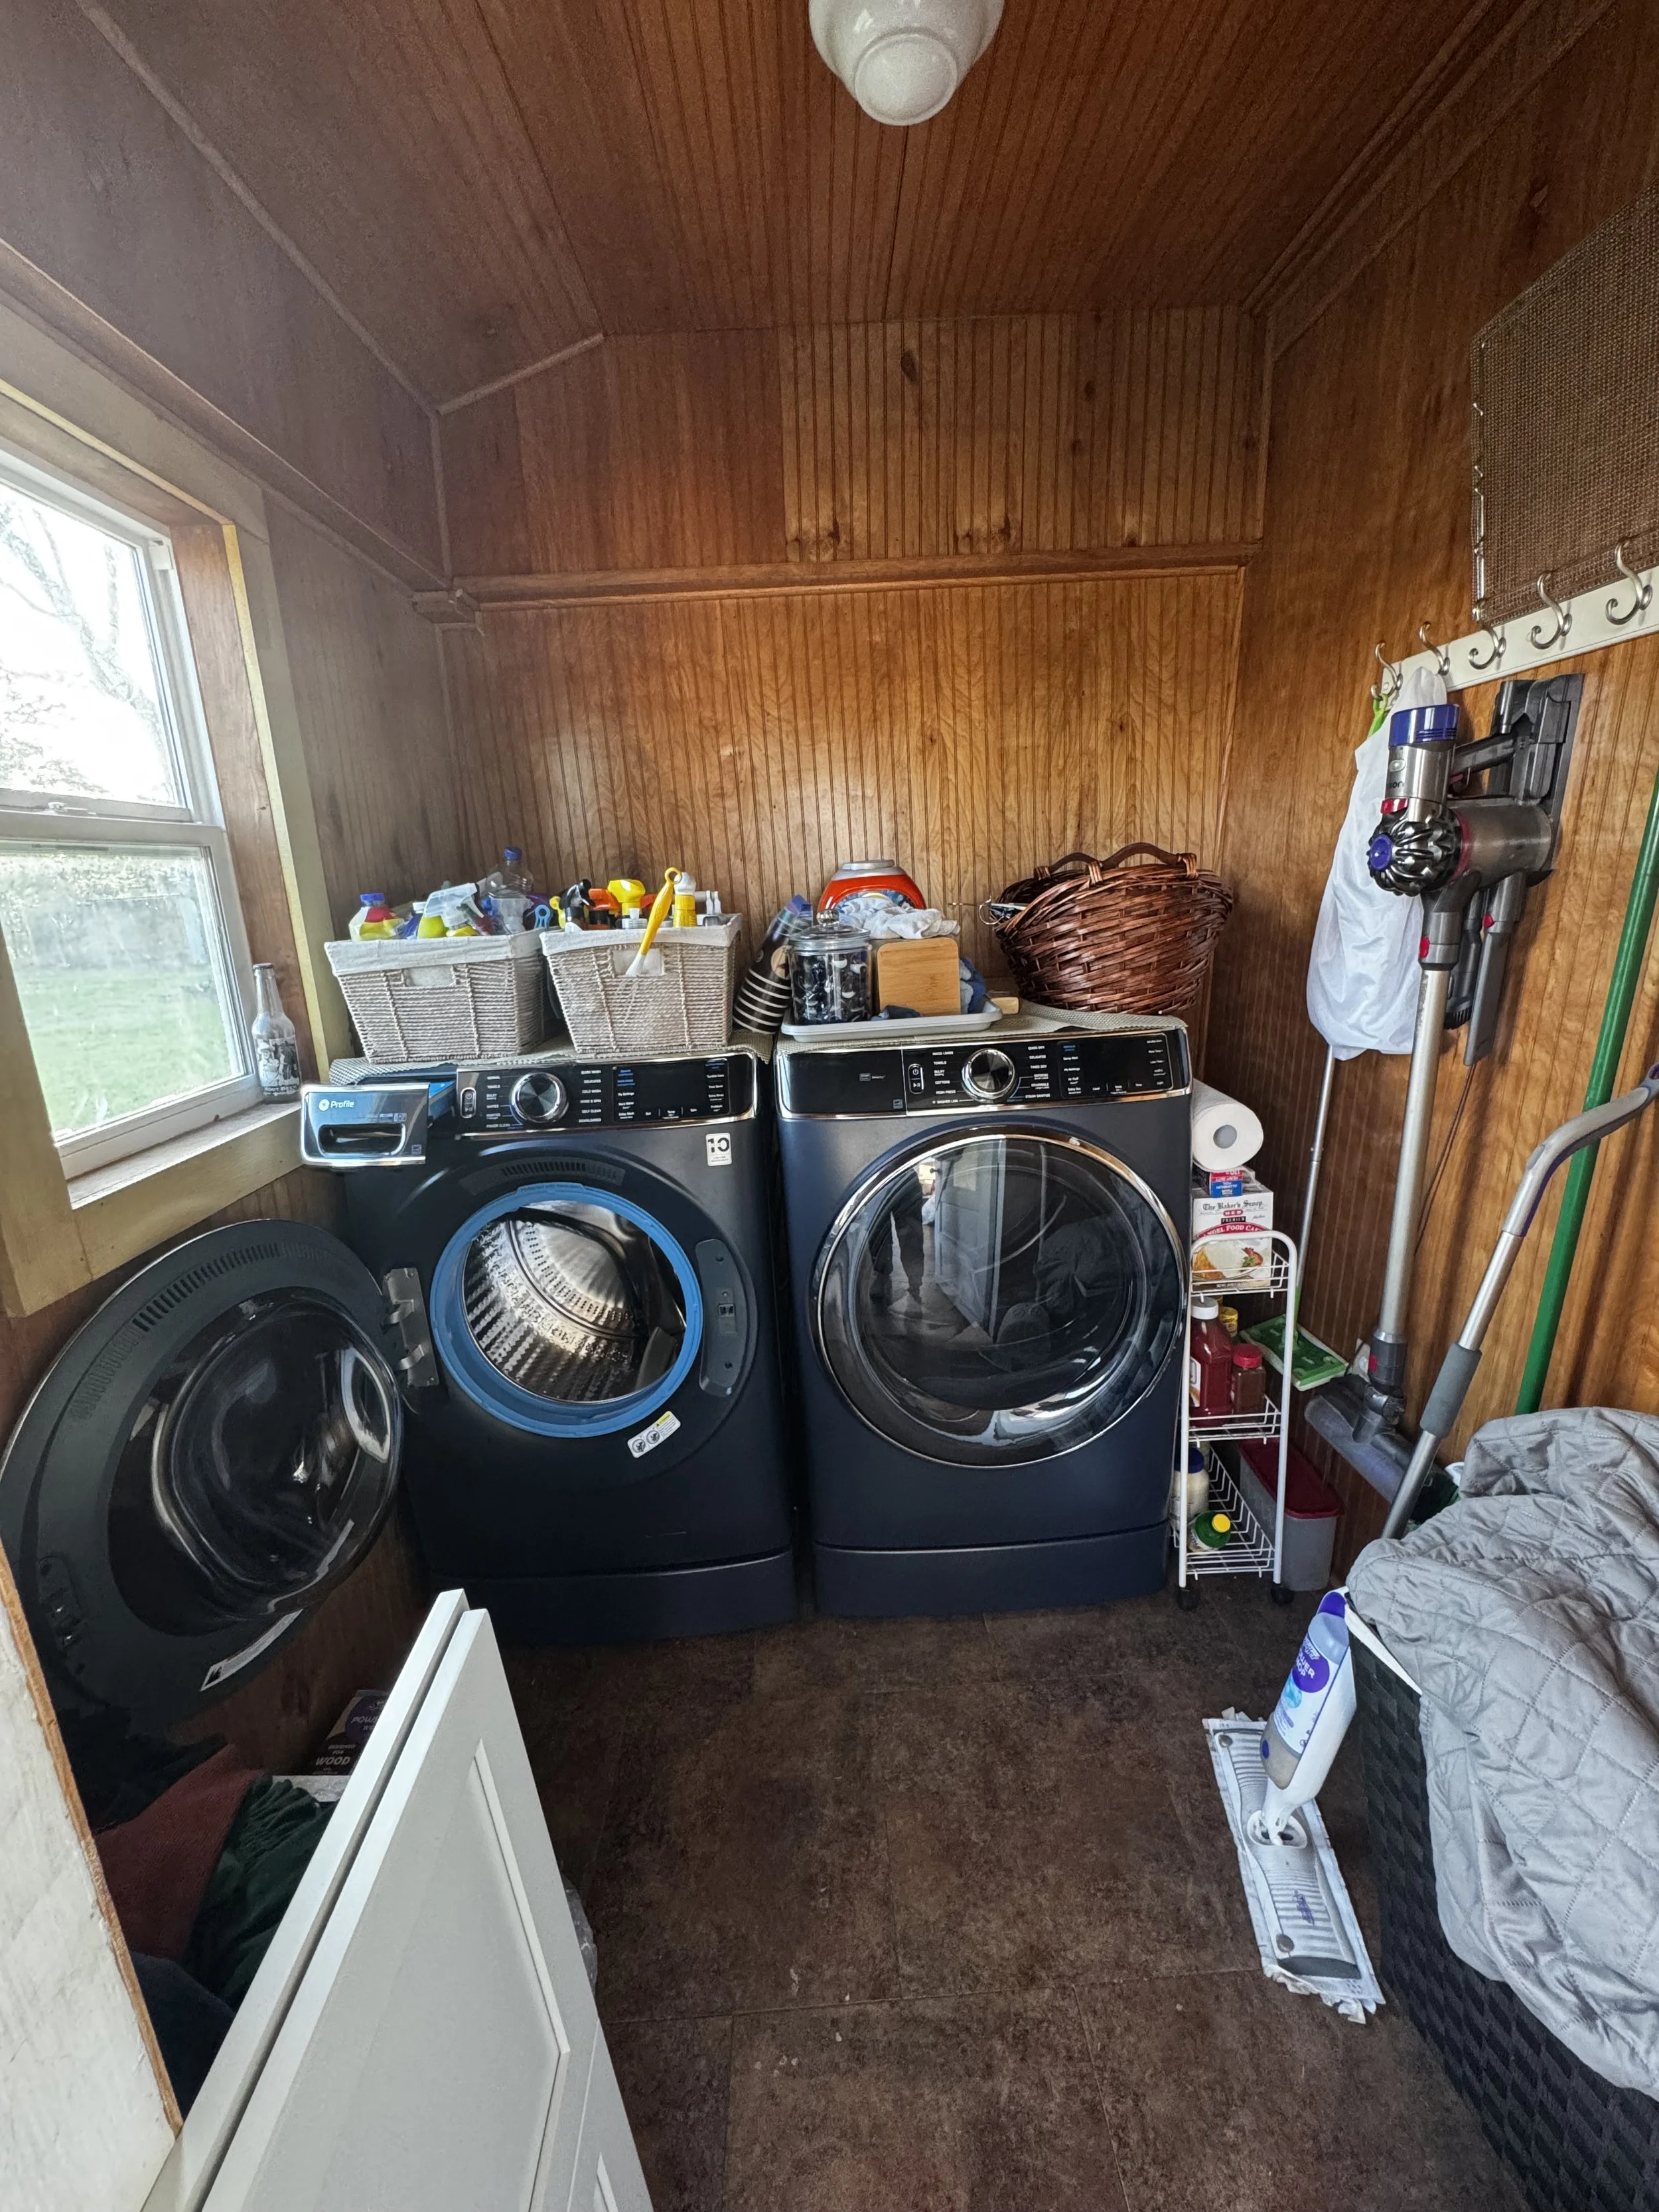
This laundry room needed some love & organization! Being an older house, nothing is level, and the wood paneling is…let's just say, "uniquely un level”. If it were up to me, I'd have ripped it all off to reveal the original shiplap underneath. But hey, you work with what you’ve got, and with the quirks of an older home, you have to get creative and go with the flow!
-
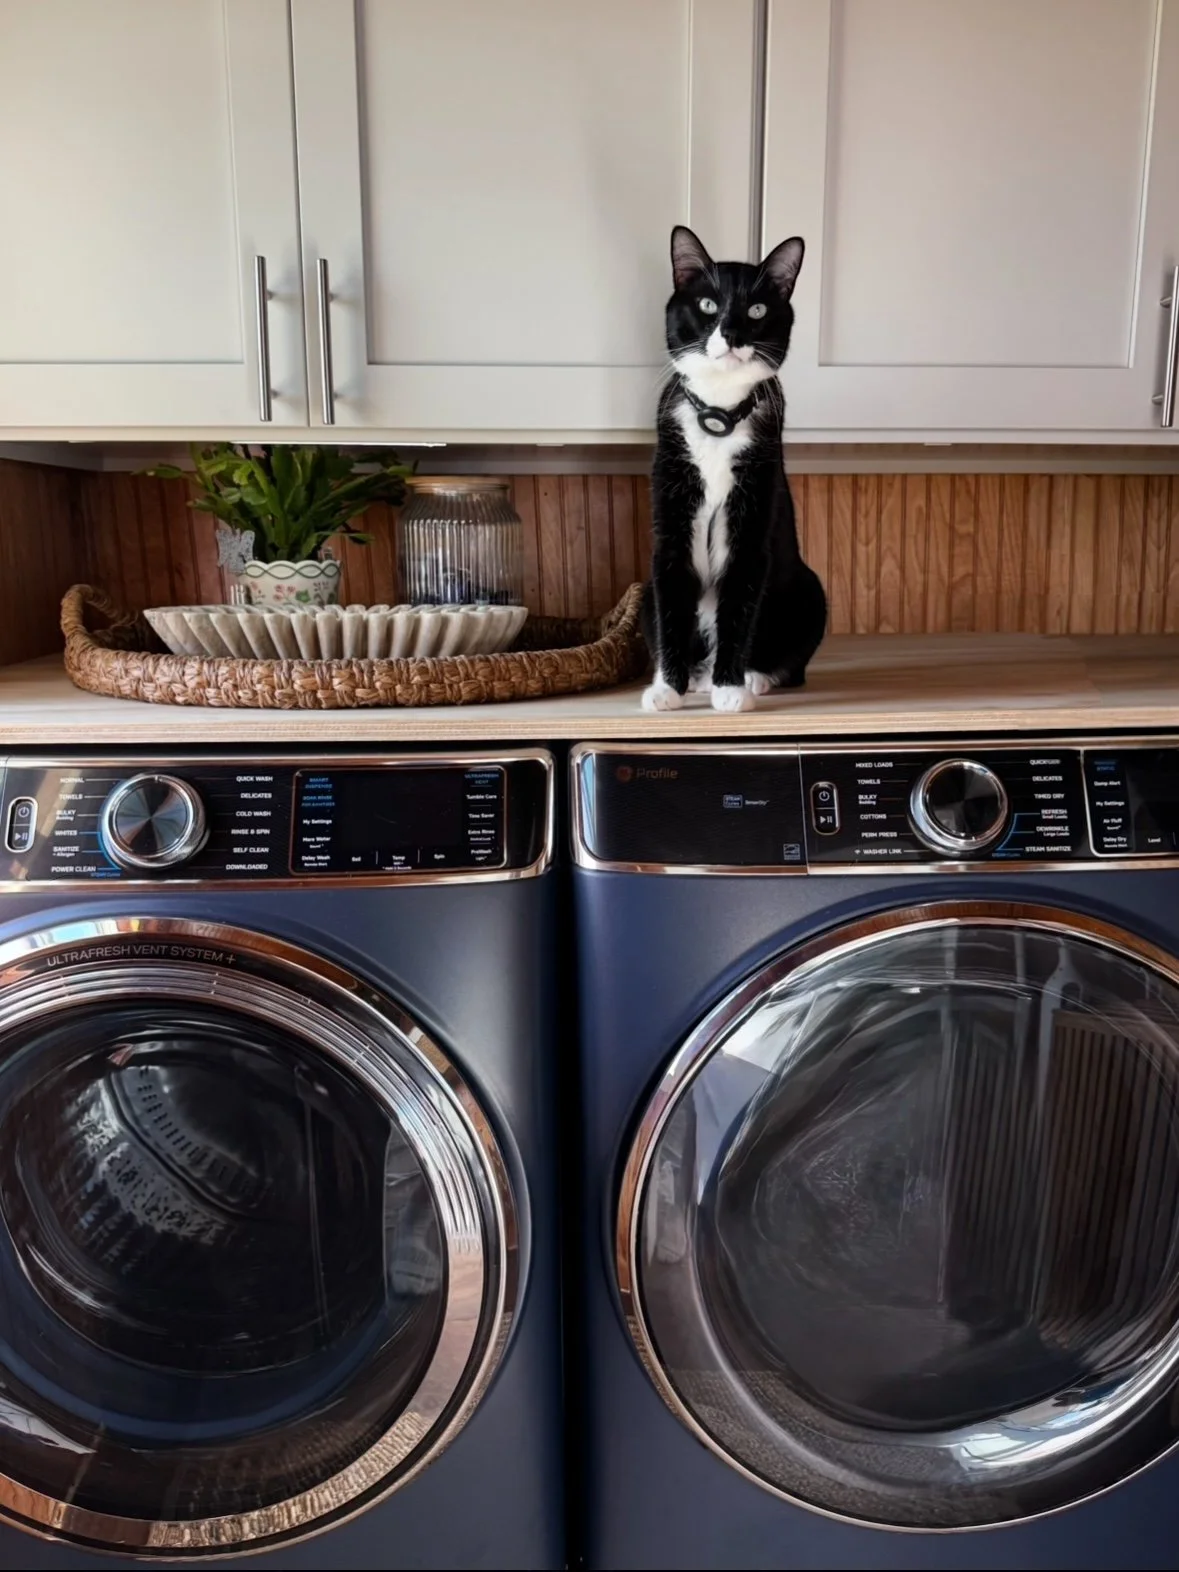
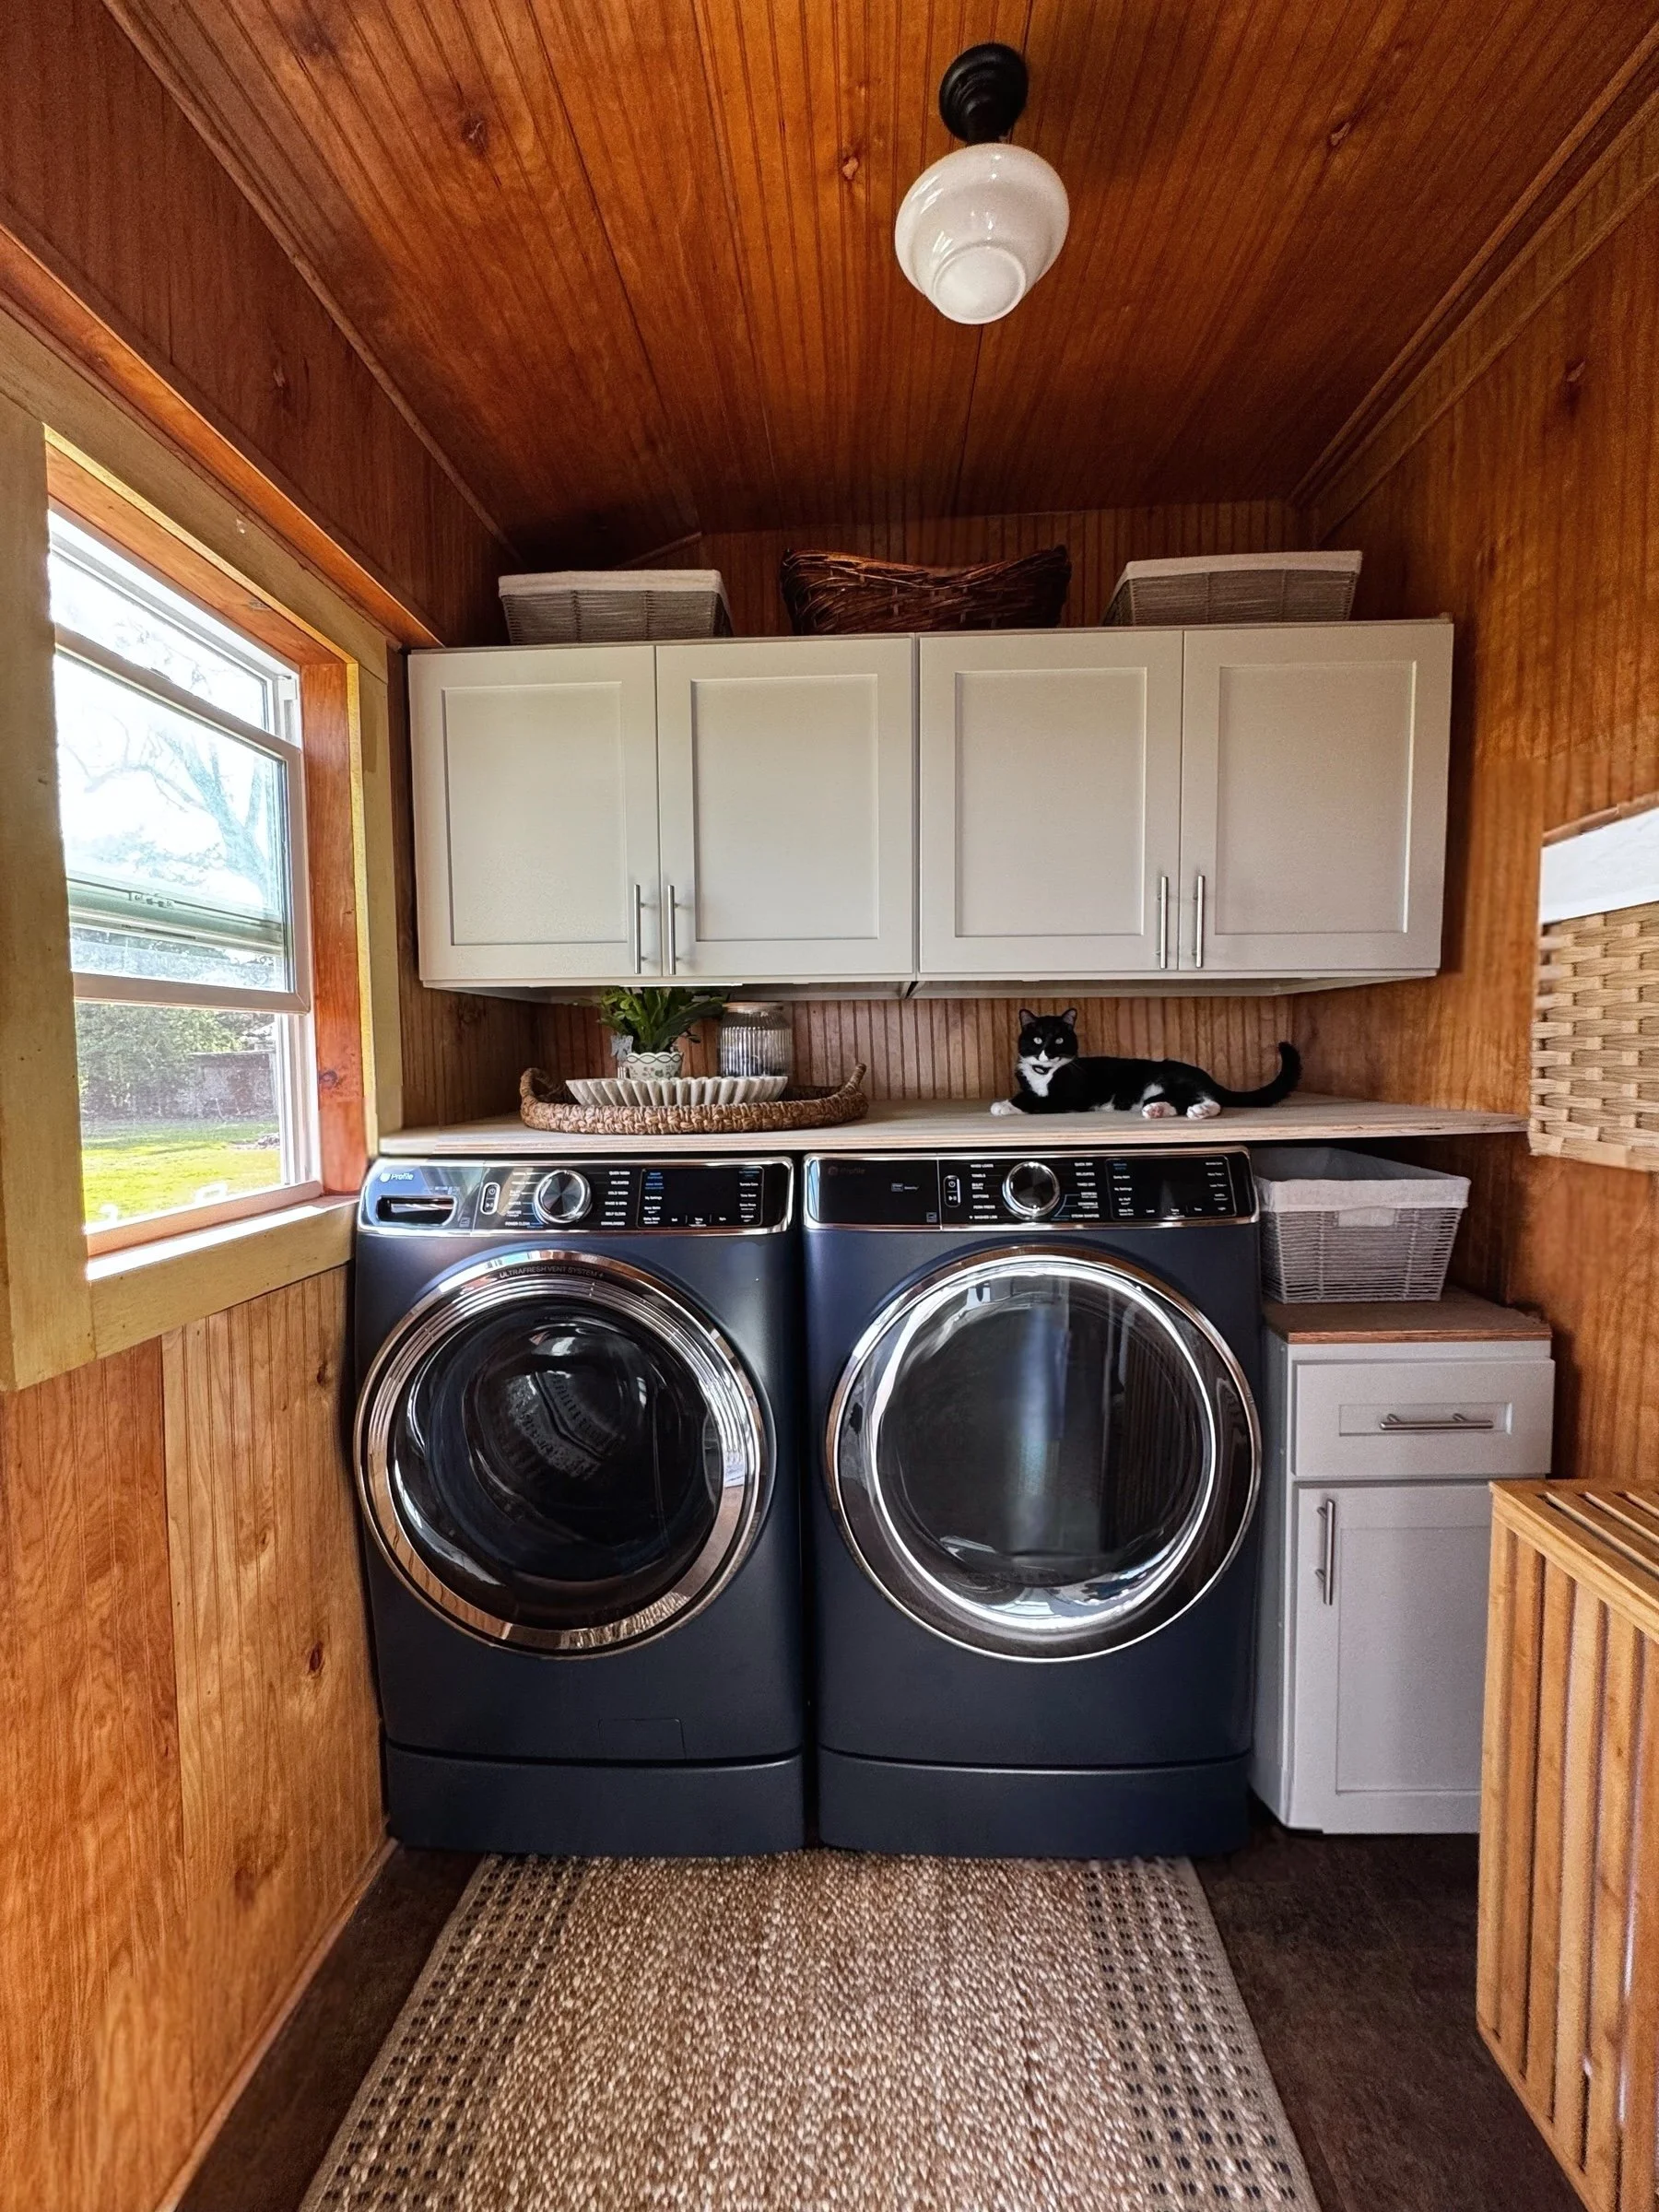
The After: 🌟
-everything added was level
*never trust the appliance people to get a true level.
-New cabinets were added above to give the homeowner some real storage. A deeper cabinet was added bc they had the space and a 12’ deep cabinet is not going to solve any storage needs.
NOTE- the cabinets were bought for a great price but did have to be put together. Easy to do and saves. All soft close hinges as well. Painted inside and out.
- Side cabinet we put on rollers (you can’t tell) and this allows the homeowner owner to pull it in and out incase they need to get to theWD.
- The top over the WD is designed to come on and off easily for pipe access.
- Wall-mounted laundry baskets for extra space (think outside the box) and find other options that could work for the space. That’s what I did with the top one and it not only made more space but works perfectly. Both baskets are off the floor.
- Individual hooks for mops & a swivel rod for hanging clothes were added.
- Cabinets are now organized with bins ( give everything a home and then after you use it put it back). Make use of things you have and then add to it to finish organizing the space.
- Motion switch for the ceiling light—because who wants to flip a switch?
- Rechargeable motion lights above and below the cabinets for that extra glow